Like many kids growing up in the '60s, I spent a lot of time building plastic model kits. My preference was making cars and trucks. I often got carried away with the details, even lavishing time on interior parts of the model that would never be visible when completed.
These cars and trucks usually met their demise by being blown-up around Halloween, (the time of year in Vancouver for firecrackers and fireworks), or being set on fire in our back yard, (and once, regrettably, in our family's bathtub).
Many of my drawings, beginning in the mid-70's, were of geometric shapes and compositions that I imagined as large sculpture installations. Perhaps it was only natural I'd start making models of these, too.
The earliest pieces were made of cardboard and paper.
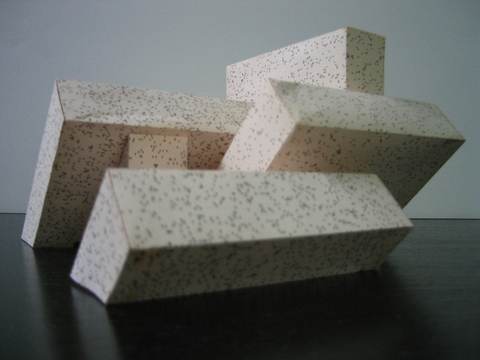
Wall Sculpture Model ~1977: cardboard & thick paper
Wall Sculpture Model ~1977: cardboard & thick paper
In mid-1978 I moved to Paris and, (among other things), continued building sculpture models.
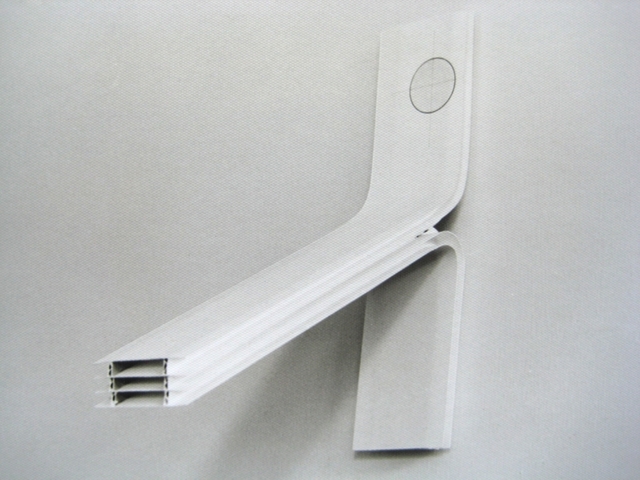
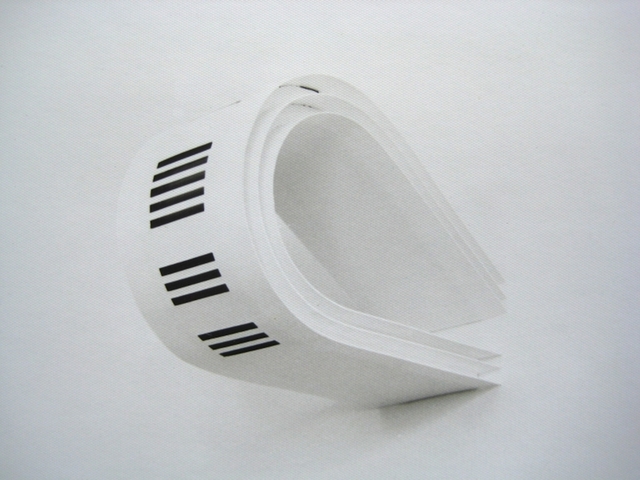
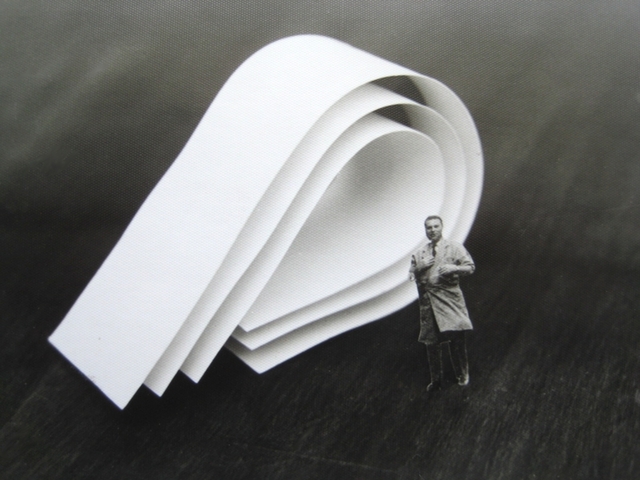
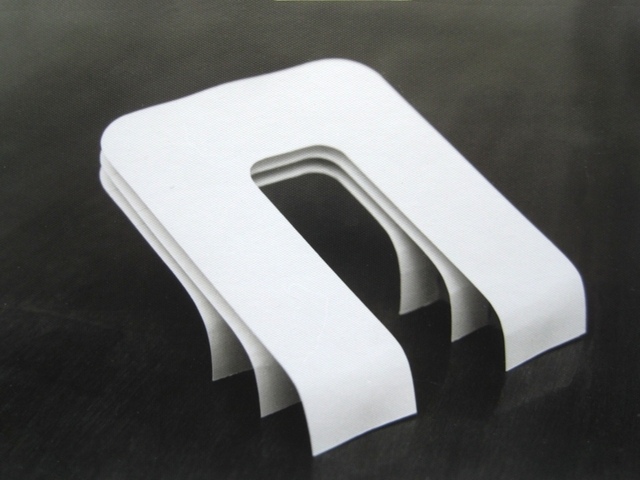
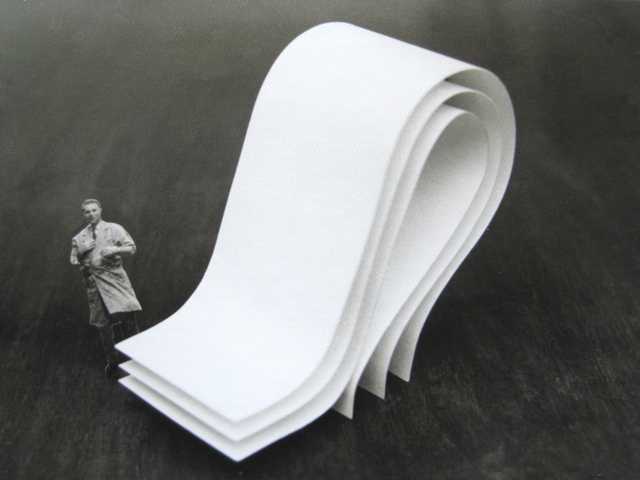
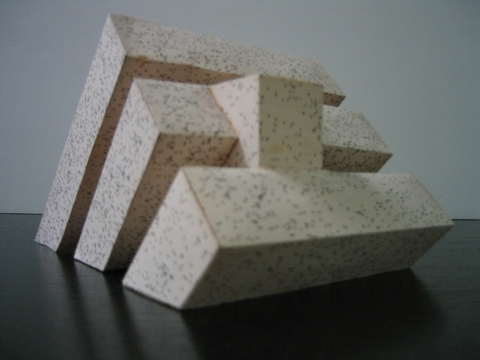
Sculpture Model 1978: cardboard & thick paper
Sculpture Model 1978: cardboard & thick paper
Sculpture Model 1978: cardboard & thick paper
Sculpture Model 1978: cardboard & thick paper
For various reasons, I couldn't find a job in Paris, not even as a dish-washer! (Although, I did decline a high-paying offer to work at a restaurant/night-club that would require me to assume some compromising positions while scantily clad.) So, I came up with a scheme to build sculpture models and sell them at the nearby flea-market.
There was a small metal-working factory down the street from my apartment so, one day, I went in and ordered dozens of strips of a brass-like material. I set-up a little metal-cutting and bending "factory" on my kitchen table using blocks of wood, saws, large nails, sand-paper, and so on, and went into "production".
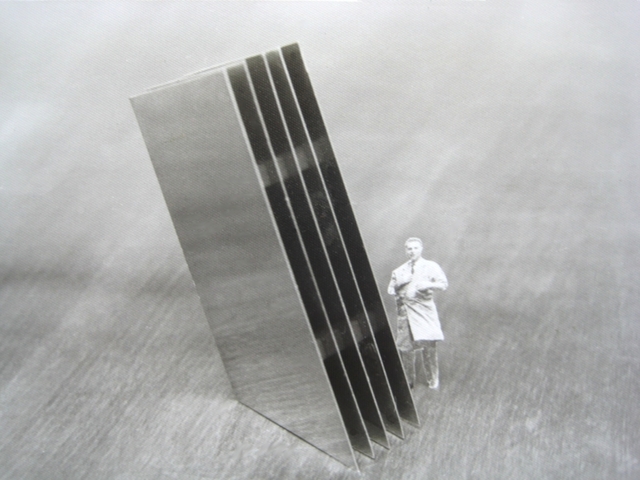
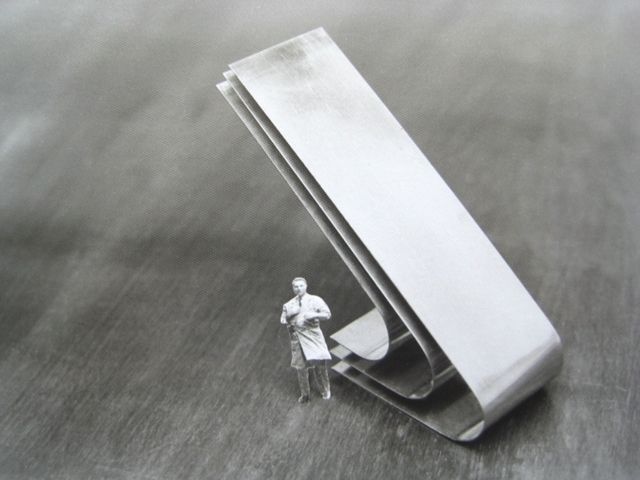
Sculpture Model 1978: metal, wood, & glue
Sculpture Model 1978: metal, wood, & glue
It was a lot of work, but after a few weeks I had a "product line" to be proud of. Each piece came with it's own custom-made cardboard box and a short information sheet about the "art-work".
Finally, the big day came and I made my way to the flea-market.
I found a promising spot on the street, set-up my small folding table, and carefully arranged the sculptures into a pleasing display. I definitely had the best-looking presentation, as everyone else to either side of me just had their items spread out on blankets on the ground.
I sat back, began reading a book, and waited for customers.
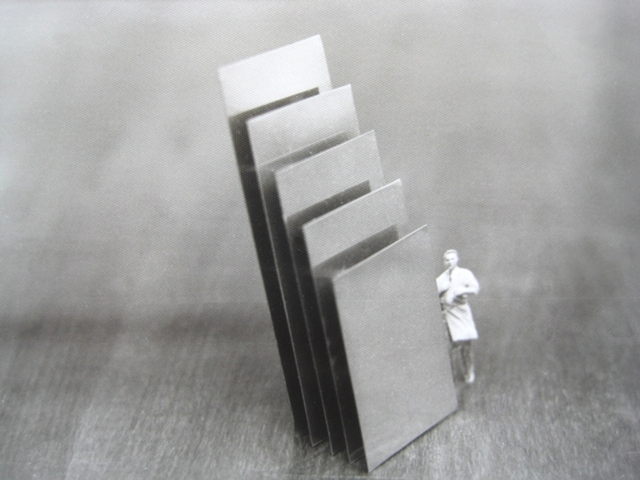
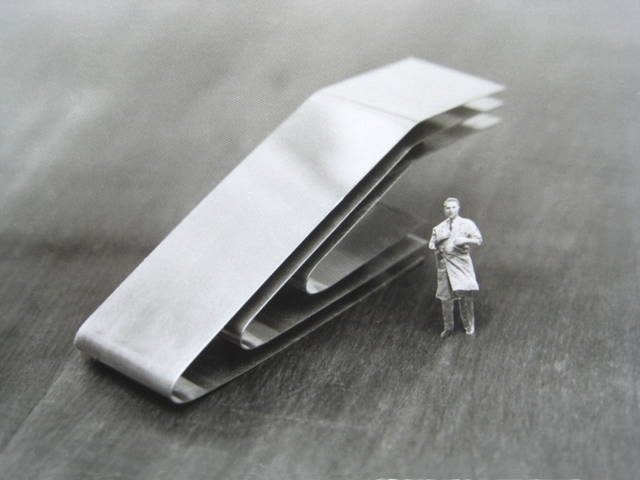
Sculpture Model 1978: metal, wood, & glue
Out of curiosity, a few people stopped to ask about what I was selling. But, after explaining they were sculptures, they usually walked away snickering or shaking their head.
Sculpture Model 1978: metal, wood, & glue
Business was slow and I was deep into my book when, suddenly, there was a loud "CRASH". The table shook violently, and my sculptures were sent flying.
Looking up, I saw two large policemen brandishing their night-sticks. "GO AWAY!" and "YOU CAN"T BE SELLING HERE!" they yelled down at me.
In shock, I answered back, "But everyone else is selling". And, while pointing to my left and right, saw I was now the only one there. Everyone else was gone!
Ah! So that's why they had all their stuff on blankets.
Needing an expensive permit, I gave up trying to sell sculptures at the flea-market and tried my luck outside various Metro stations, (without the folding table).
Long story short. After a several weeks of no sales, and abundant humiliation, I only managed to give away 2 or 3 pieces and sold the rest back to the metal-working factory as scrap metal.
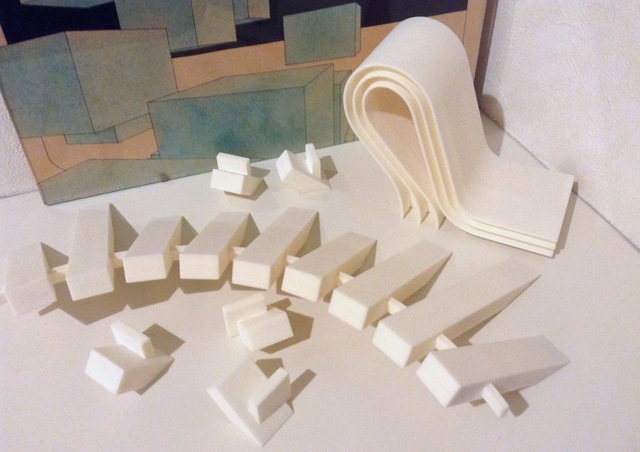
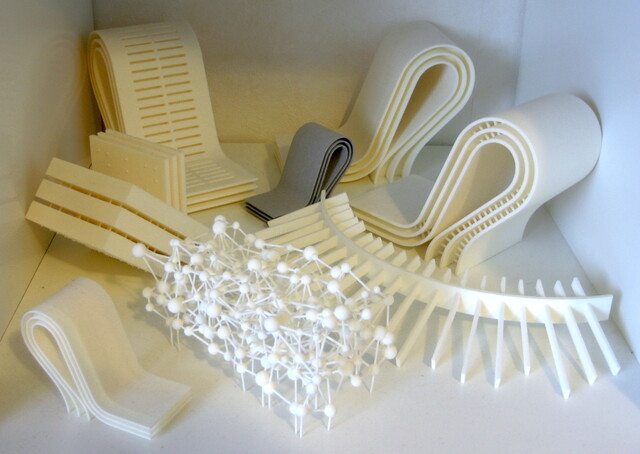
I returned to Vancouver in early 1979, and continued making sculpture models using paper, cardboard, thin sheets of plastic, and so on.
Sculpture Model ~1992: paper with printer texture
Sculpture Model ~1992: paper with printer texture
By the early '90s most of that physical model making ended and took a back seat to my making "models" on a computer using 3D software, and viewing the images on video or outputting them as archival prints on fine-art paper. (see "Series Prints" under "Personal Work")
"Series" Samples 2002: archival prints on fineart paper
Around 2012 I became interested in outputting sculptures using 3D printing technology. At the time, I was unimpressed by the quality of "printing" achievable by consumer-level machines. And, even now, the resolution and materials are of such low quality that they make everything look toy-like.
However, I came across a company in the Netherlands called "Shapeways" that specialized in 3D printing and was set-up to accept geometry uploaded over the internet, and ship the finished product back to the customer. It was obvious their commercial-grade machines could output high quality 3D prints using various materials, and I was anxious to give them a try.
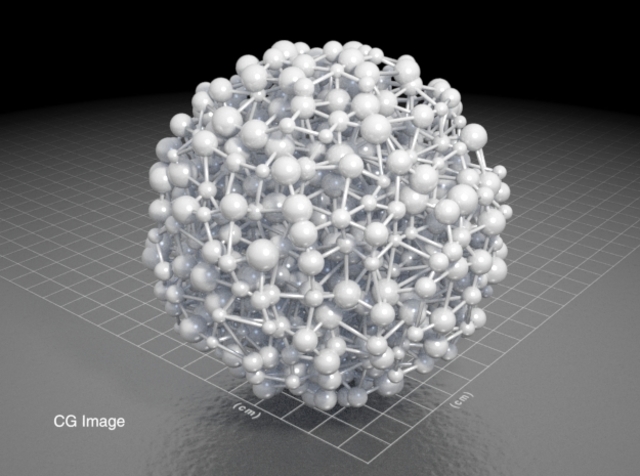
My first 3D printed "sculpture" output through Shapeways was a small, simplified test version of "Seri AI Vers 2". It was only about 3.0 x 2.5 x 2.0 cm in size, but I was happy with the result.
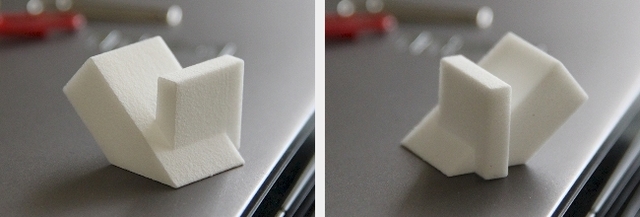
Seri AI Vers 2 (simplified) ~2013: 3D print (white, strong, flexible plastic)
For a couple of years, in my spare time, I created geometry of sculptures designed specifically for 3D printing at Shapeways.
seri AI vers 1 ~2013: Geometry for 3D printing
seri AI vers 2 ~2013: Geometry for 3D printing
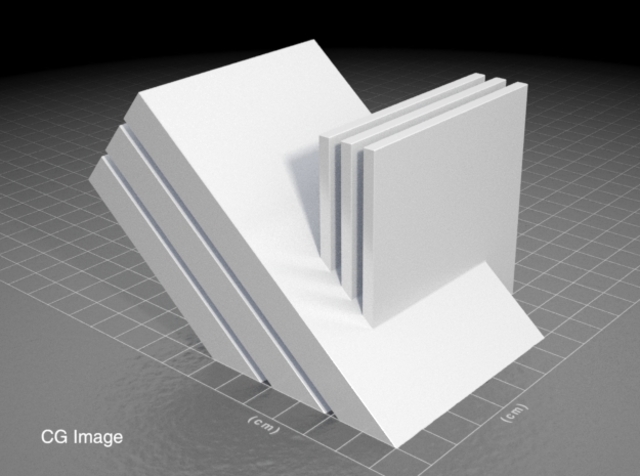
arc A ~2013: Geometry for 3D printing
arc B ~2013: Geometry for 3D printing
arc C ~2013: Geometry for 3D printing
arc D ~2013: Geometry for 3D printing
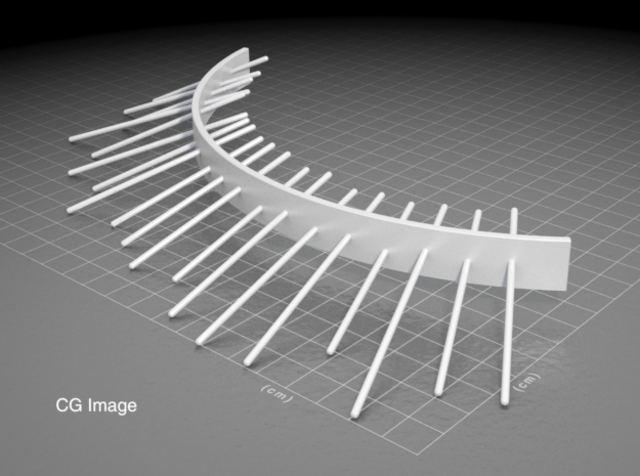
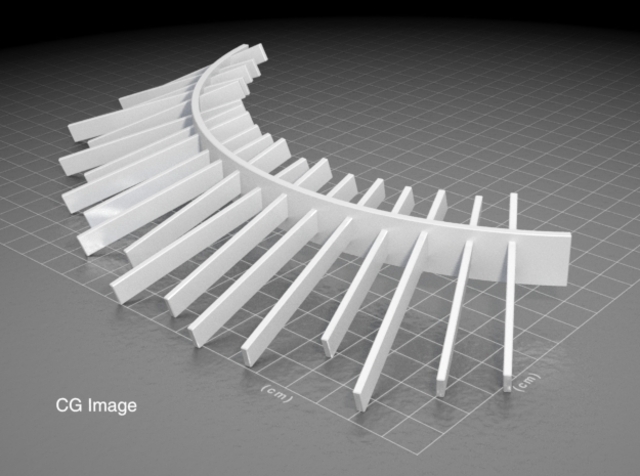
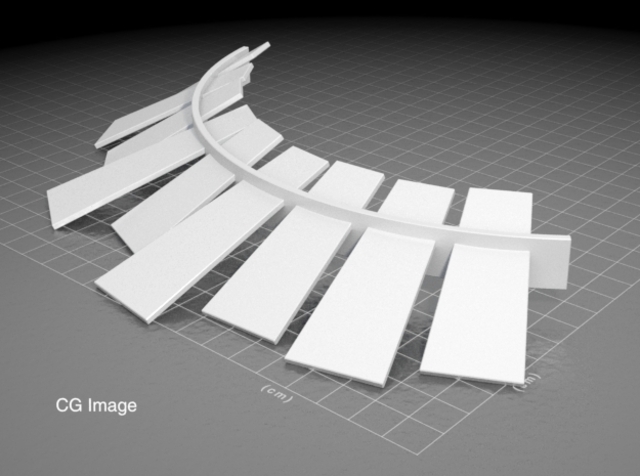
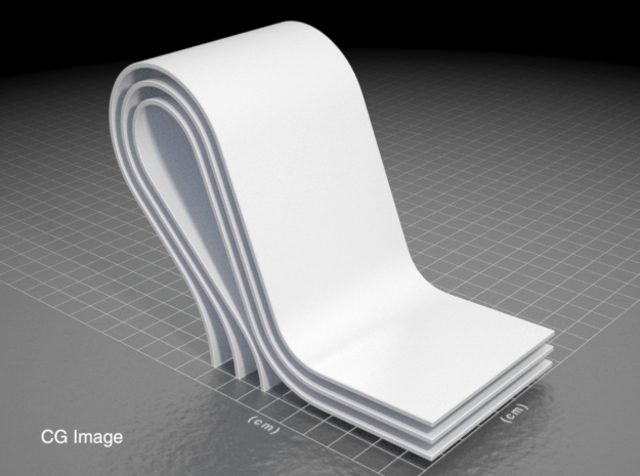
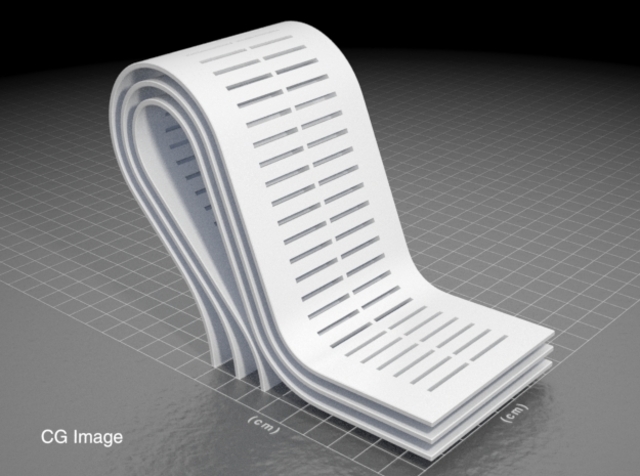
curves A L ~2013: Geometry for 3D printing
curves B L ~2013: Geometry for 3D printing
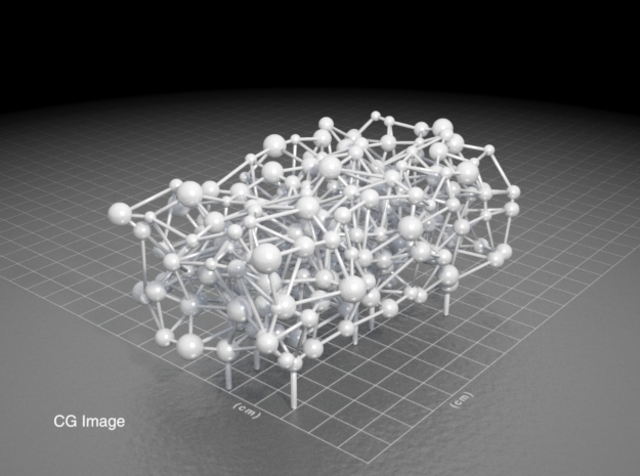
ocd A ~2013: Geometry for 3D printing
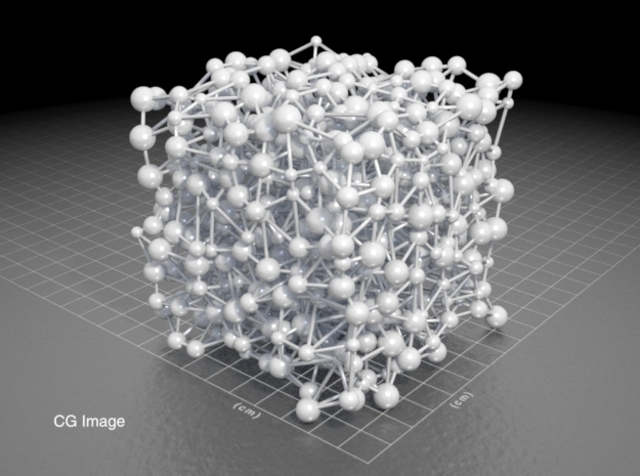
ocd cube C ~2013: Geometry for 3D printing
ocd sphere C ~2013: Geometry for 3D printing
I even began running the geometry through CG simulations (in Houdini) to make sure the sculptures would stand upright. (Some pieces were purposely designed to look like they shouldn't balance.)
Sculpture Models ~2013: Simulation testing before 3D printing
I had great fun building the CG models, exporting the geometry to Shapeways, and a few weeks later, receiving the 3D printed sculptures in the mail.
The pieces were still rather small, with the largest being around 14cm x 7cm x 11cm.
Various Prints ~2013: (white, strong, flexible plastic)
Various Prints ~2013: (white, strong, flexible plastic)
However, it wasn't cheap, and the costs associated with the whole process started adding up quickly. Besides the fees Shapeways charged for printing and materials, there was the added cost of shipping between the Netherlands and Japan. And, on top of that, I was forced to pay import duties and taxes.
Around late 2013 or early 2014 I stopped making "sculptures" using 3D printing.
I still keep my eyes open for a reasonably priced, consumer-based 3D printing system with acceptable (to me) output quality, but I think that's still a few years off.
Until then, perhaps I should just go back to making my sculpture models with paper and cardboard.